
Miss Mary Part 3

Well it has taken pretty much more than half my life to get to the final stretch . While I don’t think i could have done it any faster as i have never had that delicate balance of time and money to just push through and get it done, i promise you now as I near the end, the taste of victory is in the air and it is very sweet!
A couple of years have passed now since I last did an update on Miss Mary’s progress. But they have not been idle years ! Where to start? I guess where I left off. The engine is broken in now and has been very reliable so far . The thing I needed now was more range between fill ups . When you are on the road, the price of propane can fluctuate wildly. Now Miss Mary’s engine can run on either propane or gasoline, and I prefer to run her on propane as it is a very clean burning fuel and causes very little engine wear. Also the induction system is very simple. But the main reason is cost. You can get propane for as little as 55 cents a litre! (about $2.20 US a gallon) But not out on the road. It can cost a lot more than gas depending on how badly rural retailers decide to gouge you. I was determined to have enough capacity to hopefully leave and return on the same fill of cheap propane. I wanted a range of upwards of a thousand KM. And so the first step was to remove the existing tank to make room for the bigger one.
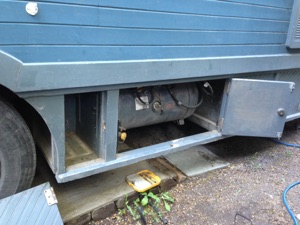

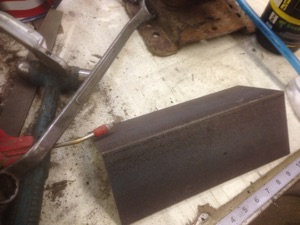
This existing tank was maybe about thirty gallons or so. It was going to be replaced with a tank one might use across the back of a pickup box , against the cab.it would be about one size bigger and two feet longer and about twice the capacity.
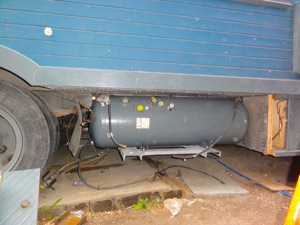
Here you can see the other tank I have ben using. Called a torpedo tank, this one hangs down from the frame crossmembers. It is shaped like a torpedo, hence the name. This one holds about twenty usable gallons. I say usable because you can only use about 3/4 of the capacity of any tank as the remainder is reserved for expansion by law.
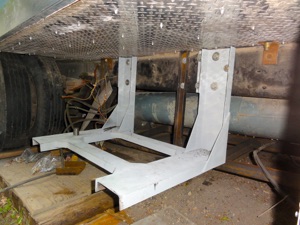
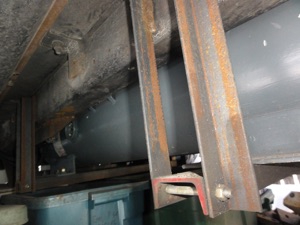
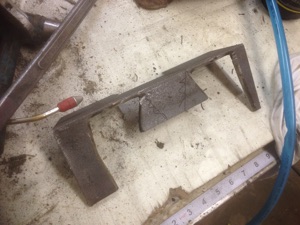
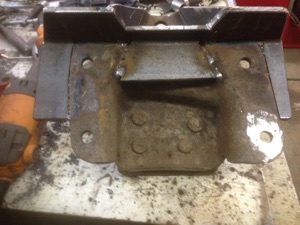
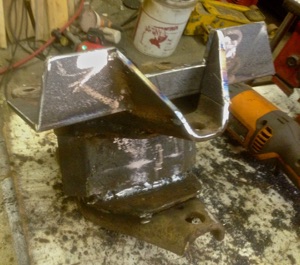
I was determined to not go drilling anymore holes in the frame for risk of weakening it. I would up fabricating this shape that utilized the existing holes in the frame as well as the mounting brackets on the bottom of the new tank.
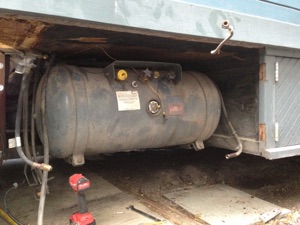
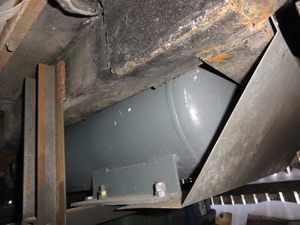
Here is the new tank mounted to it and in position. I wish I could have found an even longer tank, but the next size is rare. In hindsight however, it left just the right clearance to mount the new rear suspension when it came time to update the rear axle.
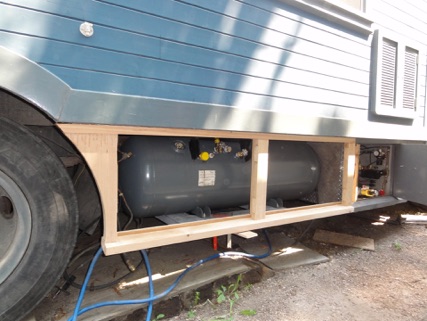
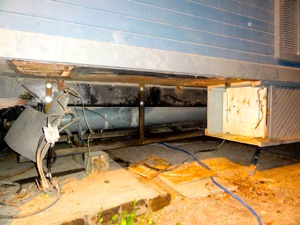
I was going to have to make all new framework as well as chop into the existing storage compartment at the front of the bus to get the tank to set where I wanted. This is all made of Doulas Fir . Below are all the new doors
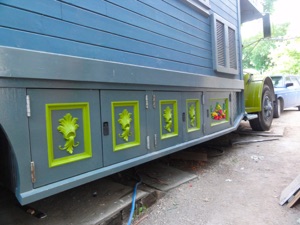
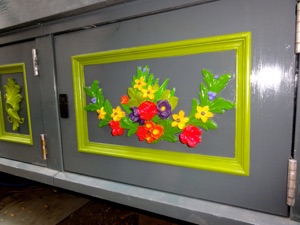

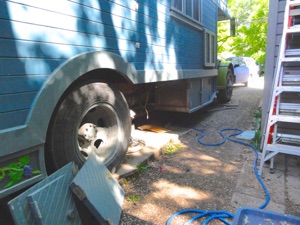
While I was making all the doors, I also finally added the skirting boards behind the wheels to hide the waste tanks. The amount of time it took to paint all the individual colors 3 coats (or more) is staggering. The painting took more time than all the fabricating for the doors and installing the new tank combined! I dubbed any purple flowers as Clematis as a tribute to my Grandmother who grew them on our family farm.
Eventually I would add yet another pair of joined tanks that fit between the frame rails, and behind the rear axle. I was careful to protect this tank from flying debris from the road as well as touching ground.
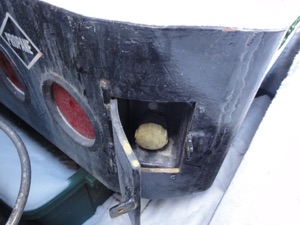
I hid the filler neck for this third tank in the curved corner of the rear bumper. Turned out nice! I now have the range I wanted! The only downside to multiple tanks is you have to pull over to switch from one to another, which is a nuisance. I tell myself it provides a good reason to get out and stretch my legs..... SO if you see me stopped on the side of the road, chances are it is not a breakdown, but time to switch tanks!


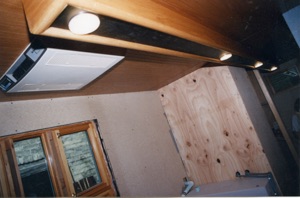
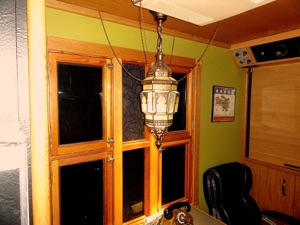
When I built the body for MIss Mary you see here, it was nearly 30 years ago. There was no internet and no computers. I really had to make it up as I went and one of the things I struggled with was the lighting. I came up with this simple long box attached to the ceiling that ran from the front to the back. there were removable panels and in them I mounted four very expensive 12 volt Italian halogen lights that used tiny peanut bulbs. These really were cutting edge at the time and used about half the power of current incandescent bulbs. I reasoned that of anything better came along over time I could just make new panels and mount different lights.
To be fair, it served me well for many years. I had each light on its own switch to conserve power. They threw off good light considering the bulbs were only rated at twenty watts and much of their effectiveness came from the design of the fixture. But eventually I wanted more light and the ability to create more and less concentrated areas of localized light. By now we live the age of LED lighting and it uses less that half the power of the halogen lighting again! Time for a serious upgrade......
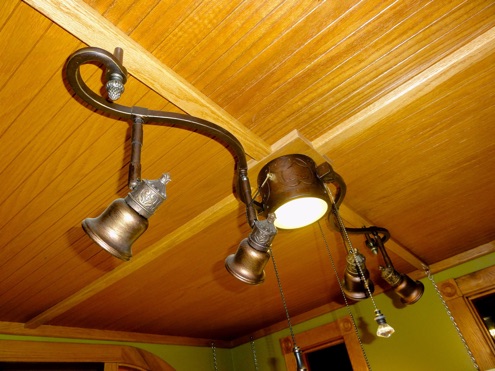
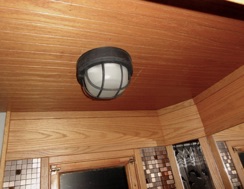
I started with a pair of these that I liked for their funkiness. I would have to convert all the bases to the correct base for the LED flood lights I wanted to use. A bit of a hassle as I also wanted individual control of each bulb within the fixture which I accomplished with the use of multiple fan switches. I installed these as I refit all the bulb bases. The original wall switch turns it on and then lighting os controlled with the draw string switches
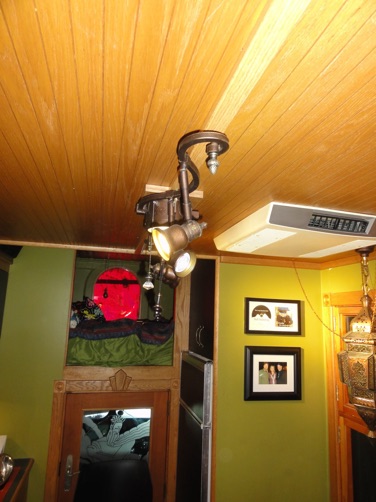
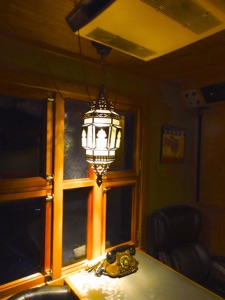
The second fixture like this is in the kitchen area and again has all the same individual bulb control as the one in the rear. I also installed this pretty cool indian gothic candle fixture I found and again installed an LED flood . It really creates a wonderful mood when you just want to sit and chat with a friend or maybe read with out disturbing someone else sleeping. I have it tethered on small matching chains to control swinging when we are moving...
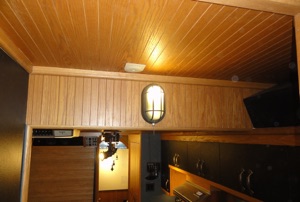
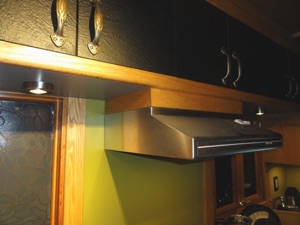
This one on the right here adorns the wall going up into the loft. It has its own drawstring. I also installed LED puck lights under all the kitchen uppers as well as one in the range hood. The fan in the range hood was a nasty and noisy old thing so I refitted it with a a very quiet and low draw computer fan
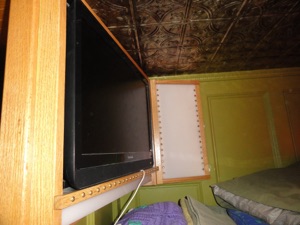
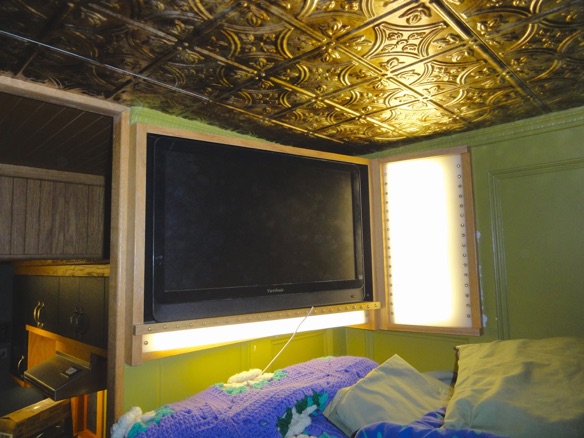
I made this fixture for the loft . The monitor can be swung out on an arm to either do some work on a keyboard or watch a movie. The lighting is LED tape lighting. All the lighting in the bus is a nice warm white in the 3500 K range making it similar to old school incandescent. This picture also shows off the new Faux tin ceiling that now adorns the loft!
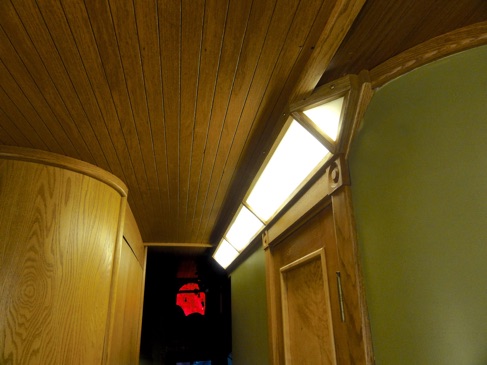
Another place that never had enough light was the hallway for the closet. I solved this by making a long Oak light fixture and filling it with LED strip lights and finishing it off with opaque white acrylic diffusers. It looks very cool!

Another sore spot to my eye was the ugly old cover for the furnace that was always dented and rattled a lot. I solved this by recycling al old heat register and making a frame for it to swing from and latch with a nice bras latch
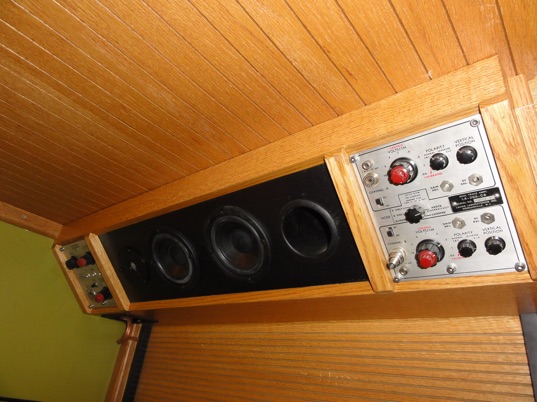
Still another bit of whimsy were these old oscilloscope modules I had kicking around and incorporated into the new speaker housing the sits above the television (covered by the rolltop)
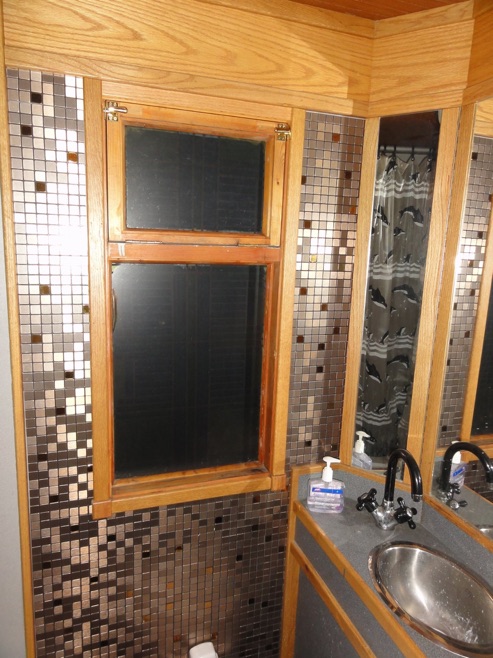
I found these funky 1” copper tiles for the bathroom. It They go beautifully with the wood.... With this last area done I have dubbed the interior done once and for all! there will be little odds and ends to come for sure, but she is now the way I want her with plenty of light where I want it!
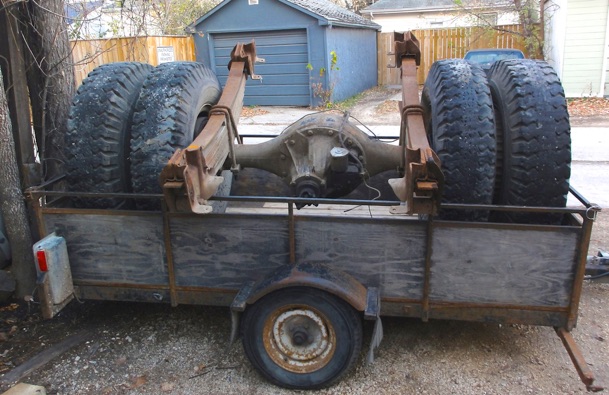
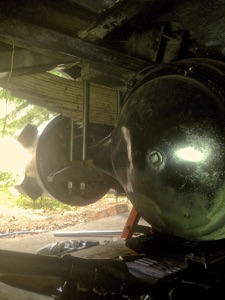
The next thing on my hit list was the rear axle. I had dragged this brute of a thing home from an unknown medium duty GM dumptruck . A salvage yard out of town was closing down and needed to clean out his yard and he was happy to part with it for the paltry sum of $150.00. Hard to pass up at that price and seemingly heavy duty enough, I did some research. It was a GM made axle , model T-170. Good for 18,000 lbs . Sold! This was a two speed axle like the one mIss Mary already had in her. It nearly destroyed my trailer as you can see!
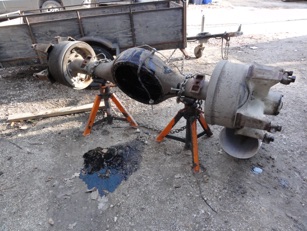
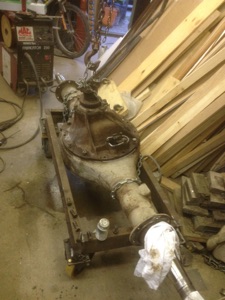
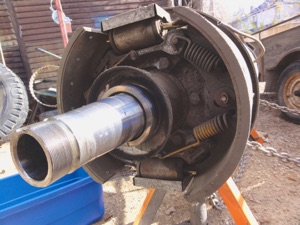
I used my trusty portable engine crane to drop the center section out of the axle and liked what I saw as everything looked good as new. Even the brake shoes were still like new, which was odd considering the brake drums were completely ruined by overheating. I had planned to completely rebuild the wheel cylinder, but new oner were only marginally more expensive than the kits, so that was a no brainer.. I also managed to find seemingly the last set of new drums for this axle in the world. I was clearly going to have to keep an eye out for a good use set for the future. For those pf you who don't know, General Motors got out of the medium duty truck market a few years ago now and already parts are beginning to dry up. I will have to maintain an inventory of spares. Sighhhhhhhh

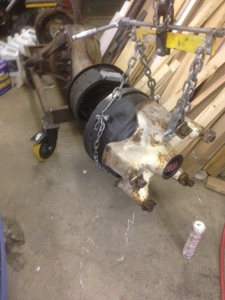
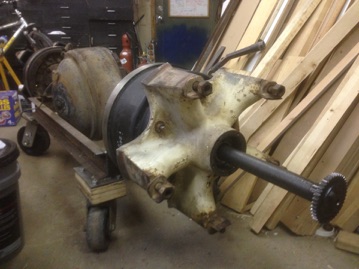
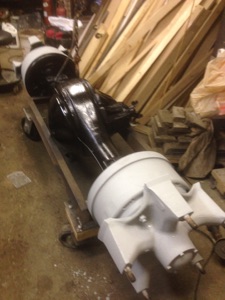
Here is the axle going back together in my shop. I had to make a custom dolly to be able to assemble it on as well as move it around the shop. This happened over last winter. Once again I found myself scrambling for time.........
Again I found myself with just 3 weeks to decide whether to even attempt this complete refit. This would not be a simple bolt in affair. The new springs the axle mounted to were much longer and a different style of spring. The old ones were a shackle type and of a design that had not changed much since the invention of the automobile. These were of a more modern design where the ends of the springs floated and the axle is kept in place with with a torque leaf that attached to the front spring mount. I was more enthused with this design as it was at least something that did not have consumable pins and shackles that were no longer available and SHOULD result in a somewhat better ride....
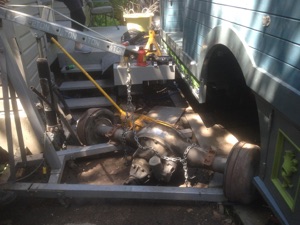
At this point I really need to take a moment and thank some of the folks that give me a hand when the going gets tough. This was a back breaking job as EVERYTHING about this operation was HEAVY! My friends Greg and Shari and Pat gave a hand at different times, but it was this man , Paul Blanchard, that put in the most time helping me lift things in and out dozens of times making sure everything fit right. When he first came over to see what I was talking about I am quite sure he thought I was out of my mind thinking that we were going to make this work!

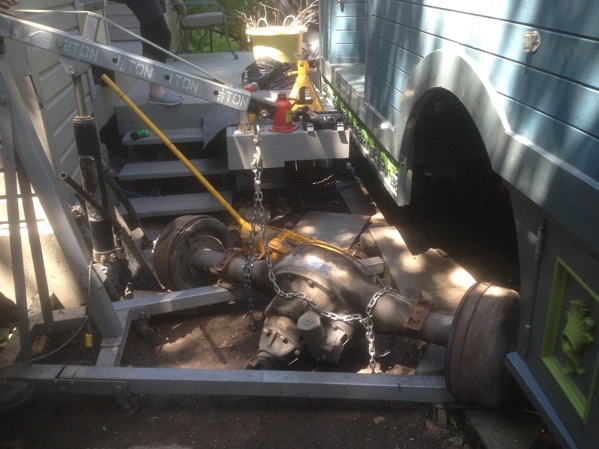
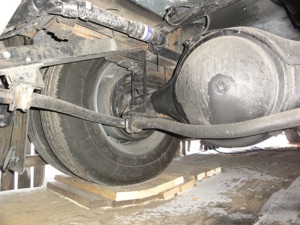
Yet at the end of the day, a little coaxing with a big impact gun, some penetrating oil, the applied physics of leverage, and my trusty portable engine crane, we had the old axle out. In this shot on the right you can see the old school shackle mounts the old springs used to attach to the frame. Then I discovered the shortfall of the newer spring mount design......
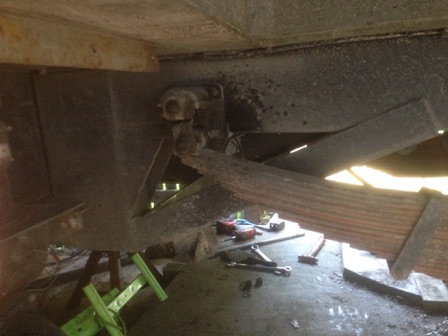
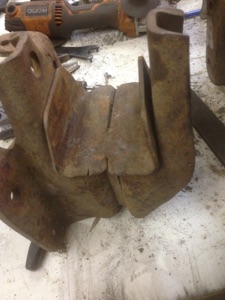
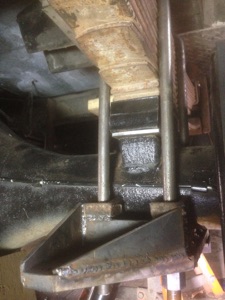
Here we can see one of the reasons GM had to give up the truck market. Cheap, nasty design! Where the old mounts were lovely cast pieces that never wore out, I could not find good examples of this crappy stamped sheet metal design anywhere!!! Everywhere I looked they were all like this . This trough the top of the spring slides in always cracks and falls apart. This was the best one i could find, but even it had cracks forming. Research showed me people had given up replacing them and had instead reinforced them with additional sheet metal to bear the load. This was going to have to be my path too. by the time I was done reinforcing the mounts as well increasing the surface area to take advantage of existing holes in the frame ( So I did not have to drill any more new ones than necessary), it looked like the one below.
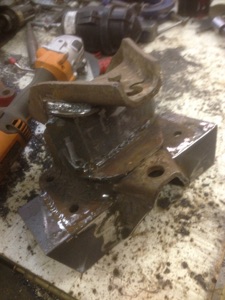


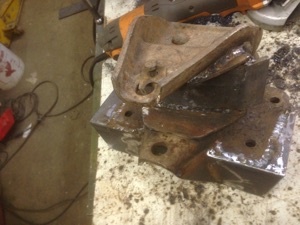
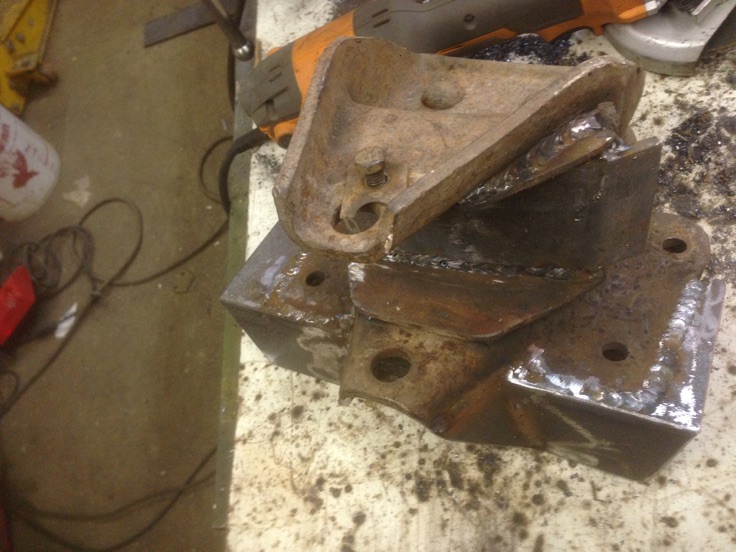
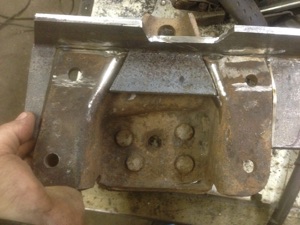
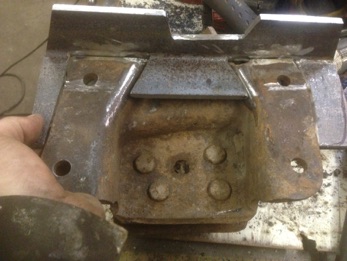
This all took a ridiculous amount of time with all the experimental paper templates to get the shape, then making a mirrored one for the other side. But I promise you it is far stronger than the original!!
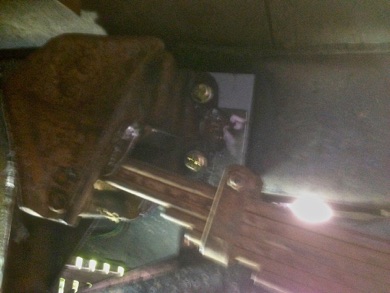
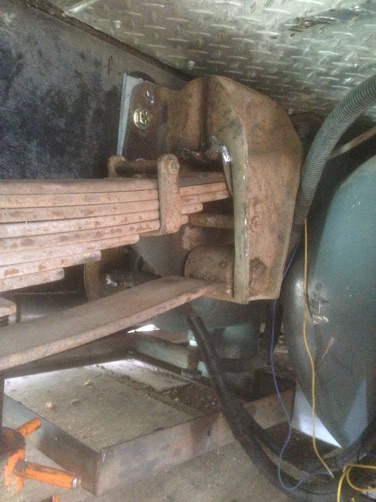
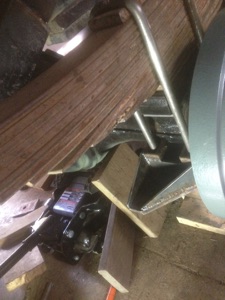
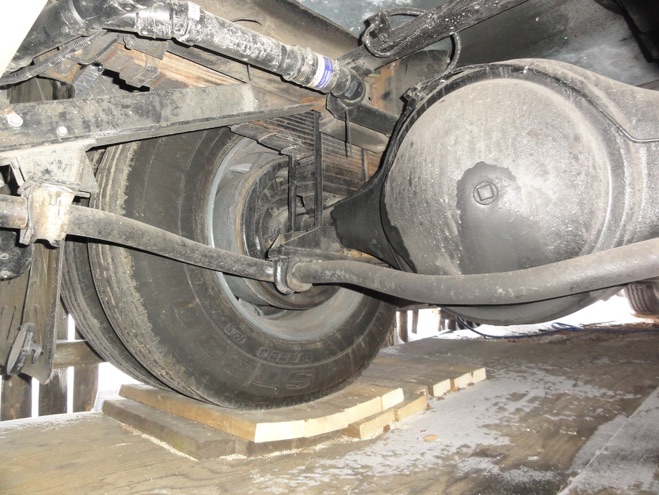
In these two shots you can really see how the new springs mount differently from the old. They slide back and forth in the troughs while supporting the load, and the torque leaf keeps everything in alignment. I thought we might be in the home stretch when Paul and I dragged the new axle into place, but when I went to attach the axle - disaster. The springs were too close together!. We had to remove them again and make shim plates to get them lined up with the axle mounting points. This took another whole day alone!
One of the things that helps keep Miss Mary manageable to drive is the fact that she has front and rear anti-sway bars. I had made custom mounts and installed them years ago, but they were not going to hook up to the new axle the way they had to the old. Once again I had to design completely new ones from scratch.
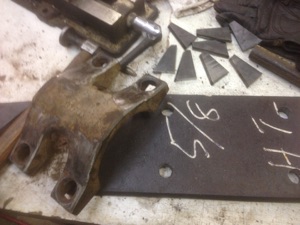
This was the clamp that went under the new axle and was held in place with U bolts over the springs. I was going to have to utilize them in the new mount as the had the correct radius to clamp around the axle. I started with a piece of 5/8” steel plate. ( I have always been one to take a hand grenade to a knife fight when it comes to strength....) When I was done I had a shape that I could mount the sway bar to. Ridiculously well braced and incorporating the original clamp, it bolted together perfectly. You can see the sway bar mounted to it in the final photo below
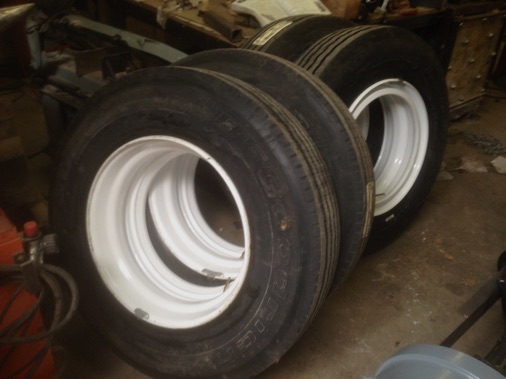
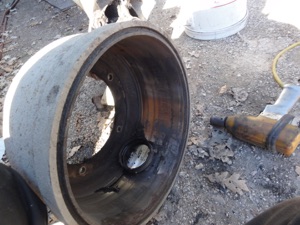
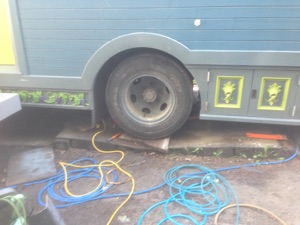
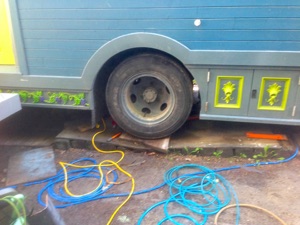
Another issue was going to be tires. This axle was a dayton style that uses these detachable type rims. I did have the option of using the old tube type 20’ tires on dayton wheels, but we had a long trip to do this summer (Actually this would be the most mileage in a summer we had driven yet) and I was deathly afraid of blowing a tire and not being able to find a replacement as this size is now extinct. And so I decided to bite the bullet and go with new 22.5” wheels and tires that would be common everywhere and tube less to boot!
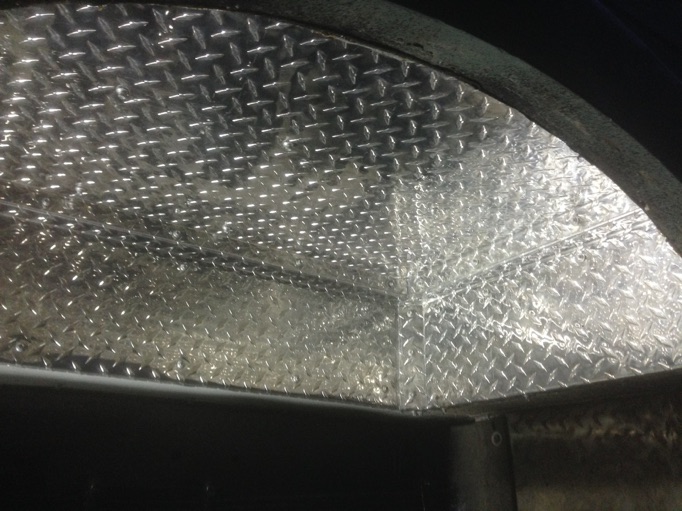
Once again, the good folks at KK Penner Tire in Blumenort came to our rescue and got me hooked up with new wheels and tires and even bought the old ones to sell to farmers for grain trucks! It was a breathtaking amount of money, but Miss Mary now runs on tubeless radials all around! One more thing I did before I put the tires on was to box the wheel wells with aluminum deckpoint as i was very tired of having to always be spraying undercoating to try to keep up the plywood. In fact , every time I did some work underneath I skinned the underside first with roofing membrane and then with this stuff or galvanized sheet metal. From just ahead of the axle, as well as all around the new propane tank, she is lined with a skin of this or sheet metal!
Well thats about where we are for now, but there is much more to come as we get new batteries and solar panels to charge them. There is still work to do on the cooling system and the cab interior . I am also going to rename MIss Mary as we have new adventures for her coming up. Stay Tuned!
