The Great Train Layout
One of the funniest stories about this layout was this guy calling me up one day saying he wanted a high end O scale train layout built. Uh Huh. About a year later when he had the two story garage built, the second story to be dedicated to the train room I realized he was serious!

What did I know about building a train layout? I had never built a complete one and certainly nothing of this scale. I knew I had not seen anything locally that I liked.I started on a cold January morning. He was going out of town for 2 weeks. I knew he wanted wireless command control of the whole layout and left me with vague instructions for a couple of loops around the room.When he got back to see what I had done he told me to do what ever I wanted.

OK so I obviously didn’t get this much done in 2 weeks. I spent the first week just building the framework . Not liking the wimpy framework I had seen on other layouts I knew It would be useful to build it strong enough to stand on to make finishing it later easier. Anyone who knows me knows I build stuff to last and when trying to decide on strength I am the type to take a hand grenade to a knife fight everytime!,
The framework is all 2x4 construction and then skinned with 1/2” MDF.
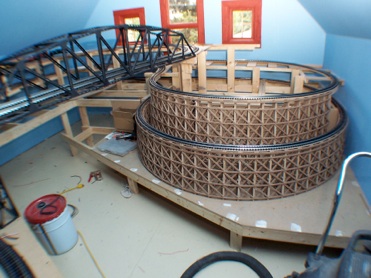

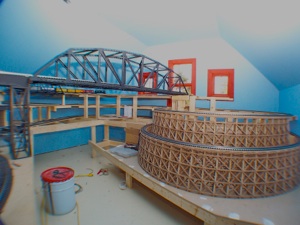
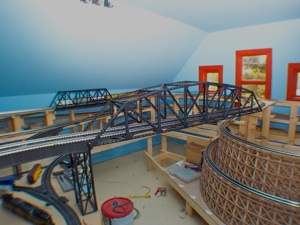
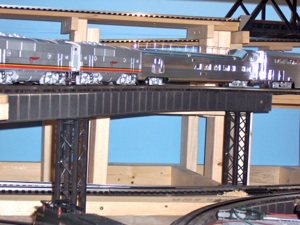
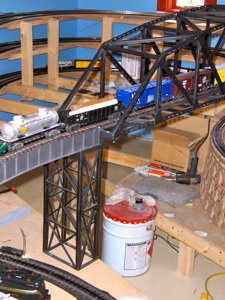
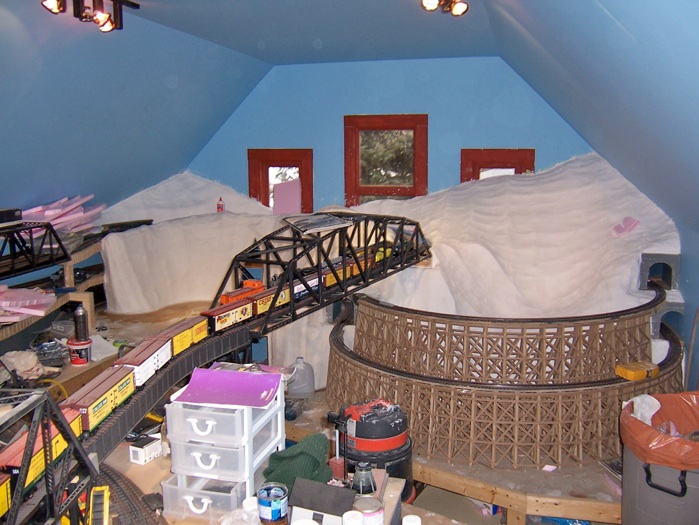
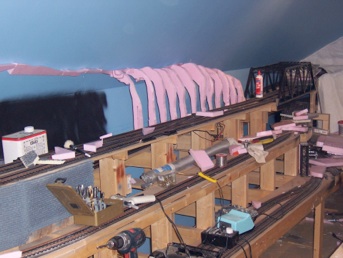
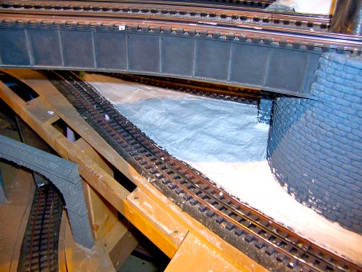
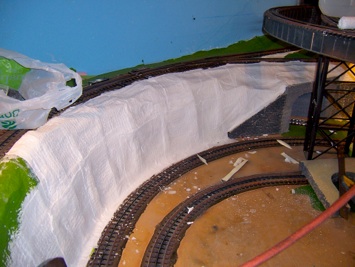
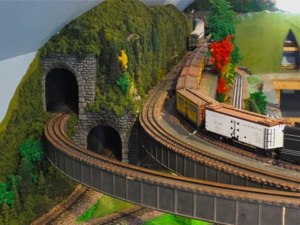
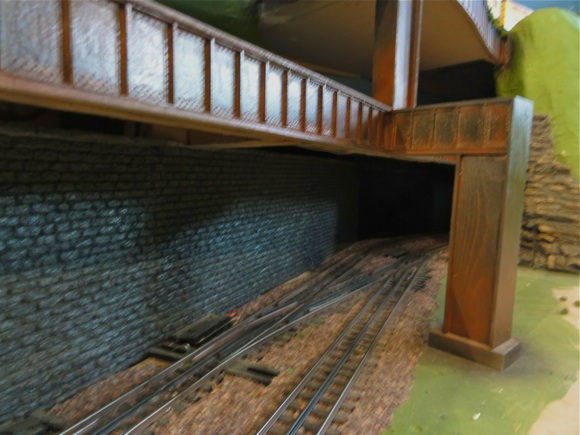
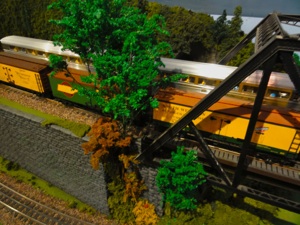
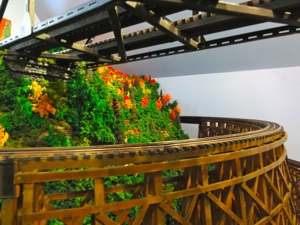
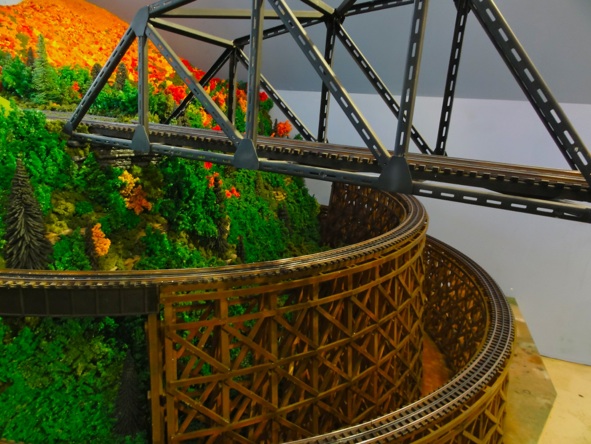
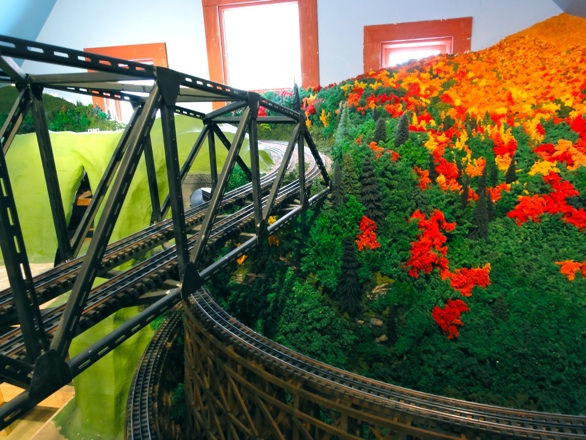
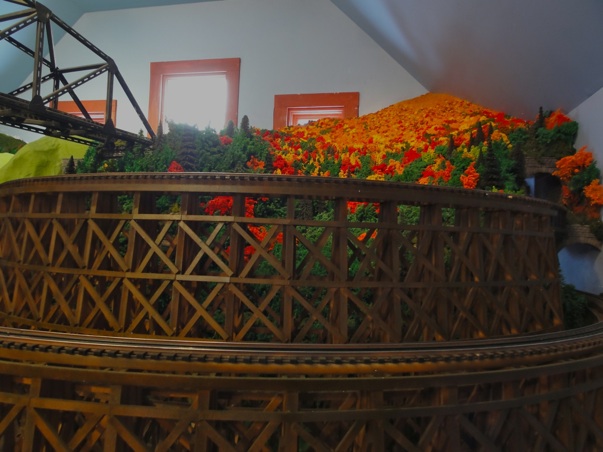
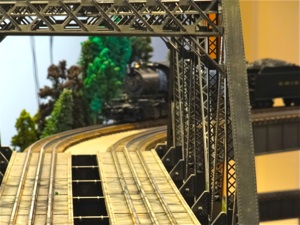
I built the two trestle bridges and all the long curved bridges out of MDF. The big truss bridge that connects to the trestle bridges and all the supports I made of steel. I gas welded them together. The big steel bridge I can stand on. The truss bridge in the background is a kit bridge and nowhere near as strong as the others you see, but adequate.
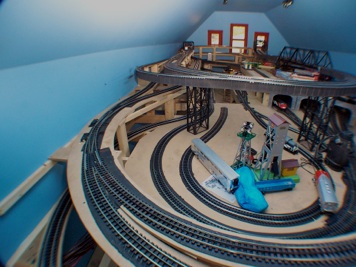
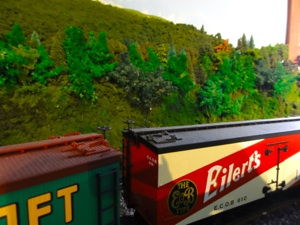
All the track is made by Gargraves and all the switches are Ross Custom Switches. The track is very cool in that it comes in 3 foot sections and can be bent(carefully) to form curves. I would up making several forms to different radiuses . T he track is held in place by a bituminous membrane that is stuck to the surface and then the track to that. There are a few brad nails here and there to keep stuff from moving but by and large it holds it all just fine.
I used hundreds of feet of wire and decided to use a home run type of wiring system as I knew it would supply better signal for the DCS operating system and also supply more amperage to where it was needed. This proved to be very wise for some of these locomotives are both huge and powerful. Once we started running long trains I had to divide the power zones up even more and add more transformers to supply power as a big double headed engine on a long grade could easily trip the transformers circuit breaker!


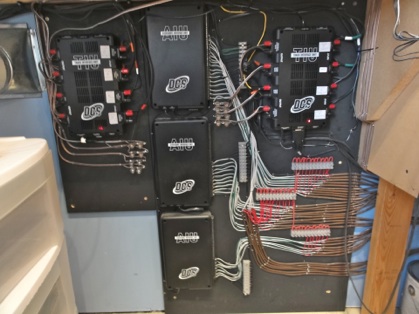
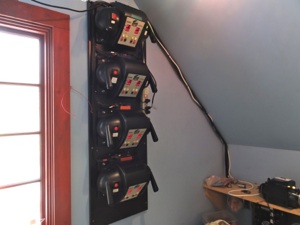
This is where all the wiring ultimately comes to and where it receives it digital command signals. Also where all the switches are connected. The 4 transformers on the wall below supply power just for the locomotives!
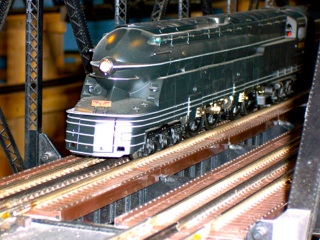
O scale layouts are the oldest type of model railroading and one of the oldest manufacturers is Lionel. There has never been a large number if manufacturers, but the survivors are making the most exciting trains in history. Their incredible electronics give a level of realism impossible just 20 years ago. While Lionels system is proprietary MTH trains system is capable of running Lionel ,but not the other way around. To that end this is an MTh layout that runs Lionel trains as well.
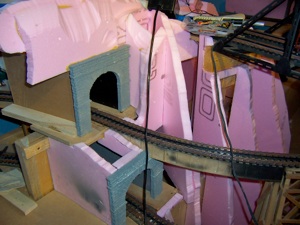
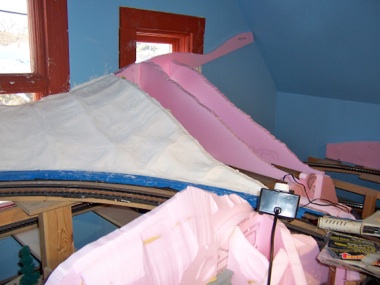
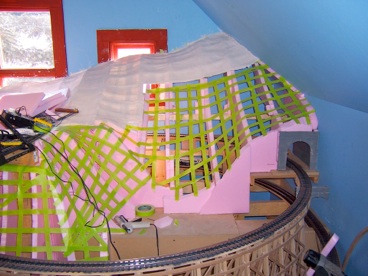
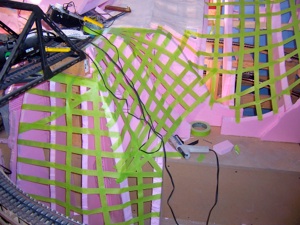
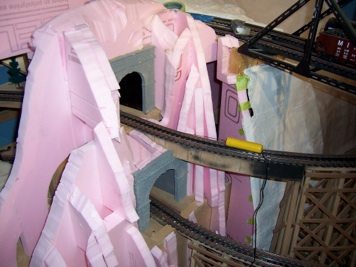
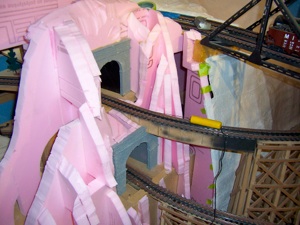
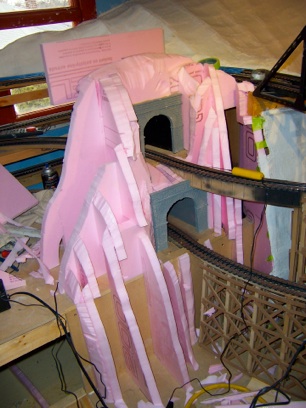
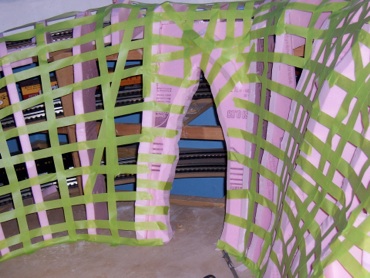
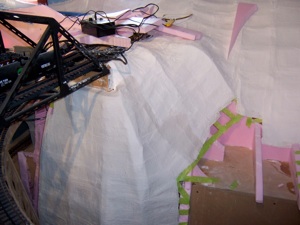
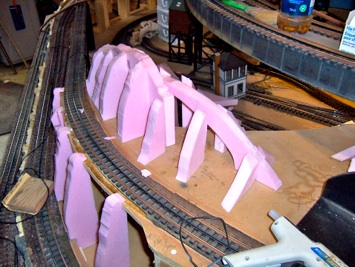
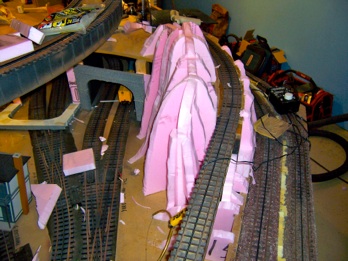
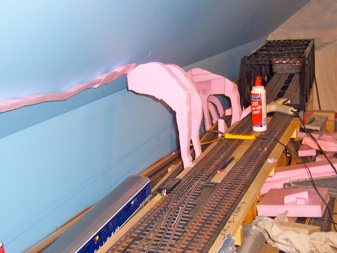
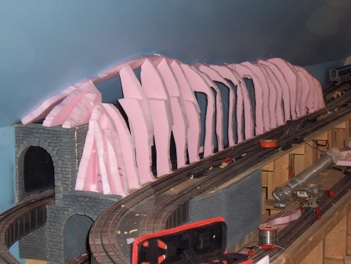
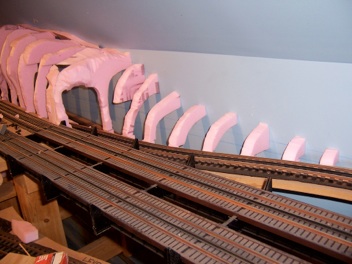
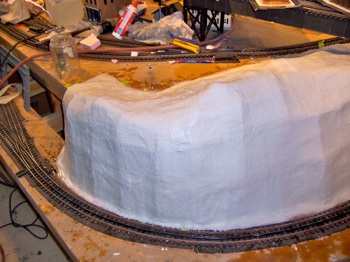
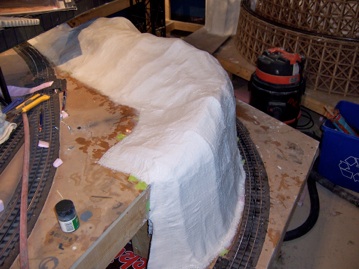
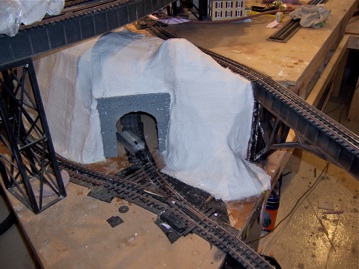
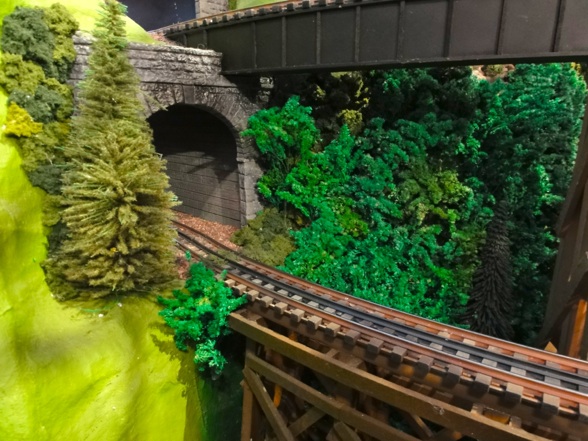
I spent a ridiculous amount of time getting all the track smooth and refining parts of the layout as I went until I was finally ready to do the scenery. I formed all the mountains by using a hot wire type foam cutting tool . All of the forms are made with 1” styrofoam and then hot glued in place. After I had the shapes the way I wanted them I covered them with a web of tape. Then a layer of plastercloth.
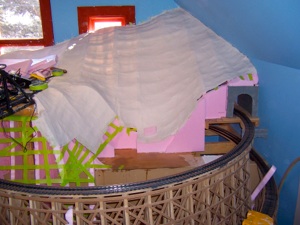
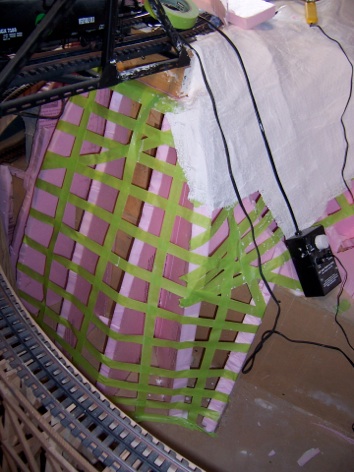


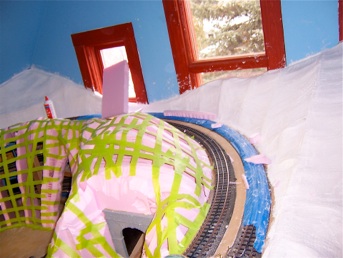
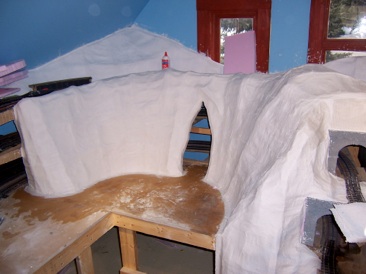
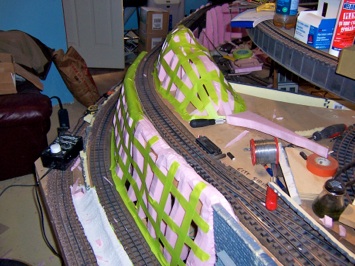

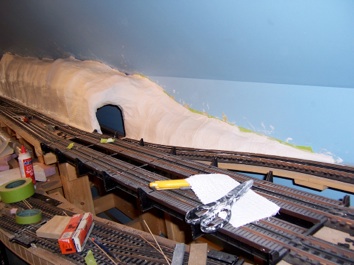

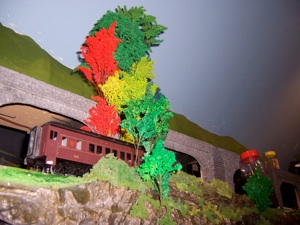
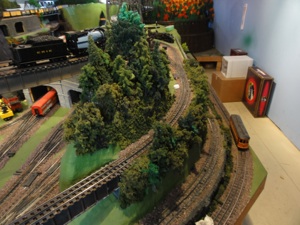
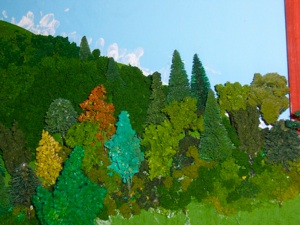
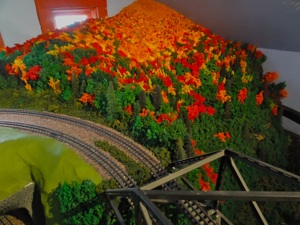
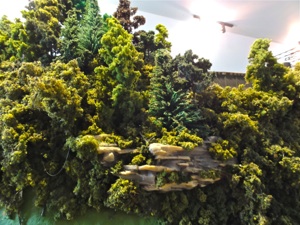
After The cloth dried I painted it all with a bright green paint to hide any areas that might tend to peak through the vast greenery that will cover this layout. I had never done any of this before but have to say it did feel very intuitive. I knew I would need a staggering amount of foliage - especially trees! Most of the low brush and bushes were simply more cost effective to make by purchasing various shades of ground foam of different sizes. Some of the larger ones I made by buying blocks of the foam and tearing it into chunks the sizes needed. Some of the conifers I purchased because they were going to be too time consuming to think of making in the quantity needed. But the majority of the trees I made by collecting bags and bags of Goldenrod ( a common weed) in the fall and spending weeks hanging and drying it in my basement. Then I misted them with a diluted glue/water mixture to keep them from falling apart. I followed this up with applications of spray paint and then air brushing for detail.
I have a youtube video documenting this first phase. Click Here - www.mymanitoba.com
This is the second one called Layout Overview 2 - Click Here -
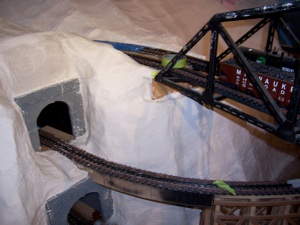
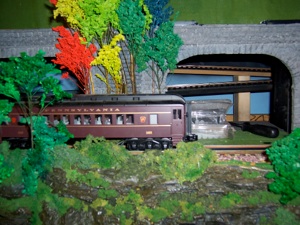


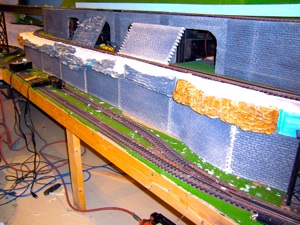

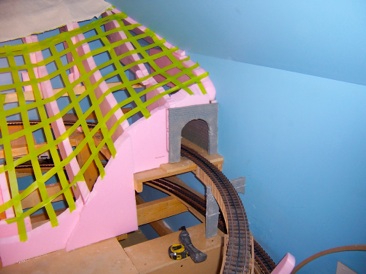
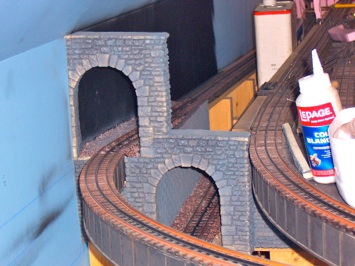
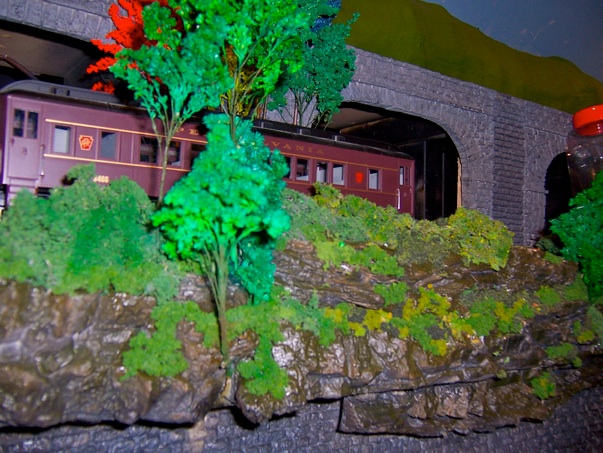
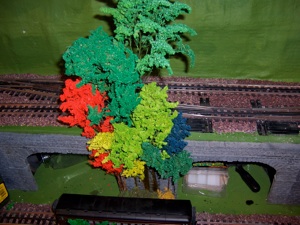
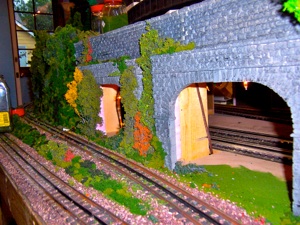
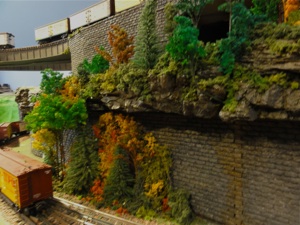
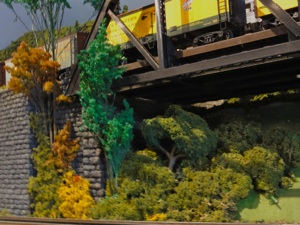
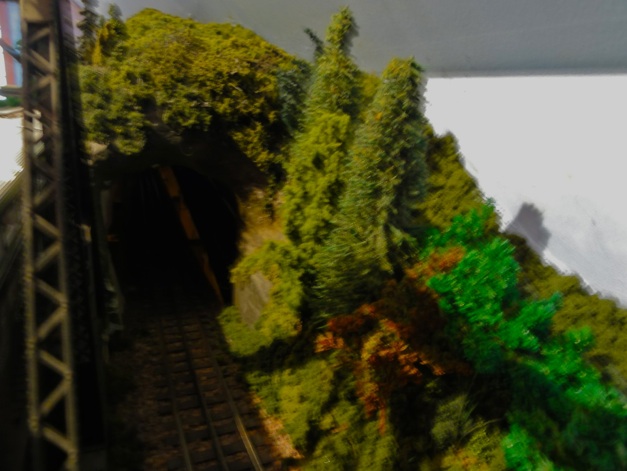
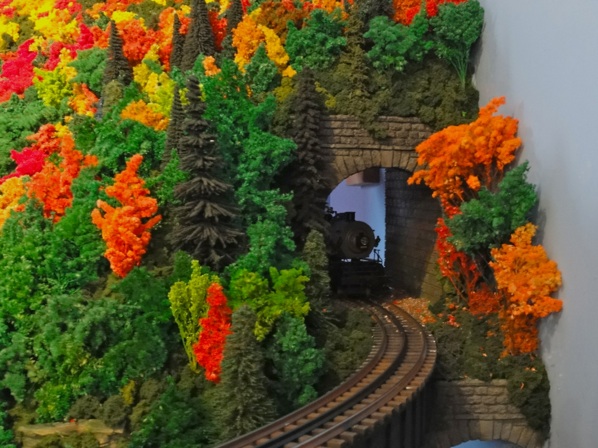
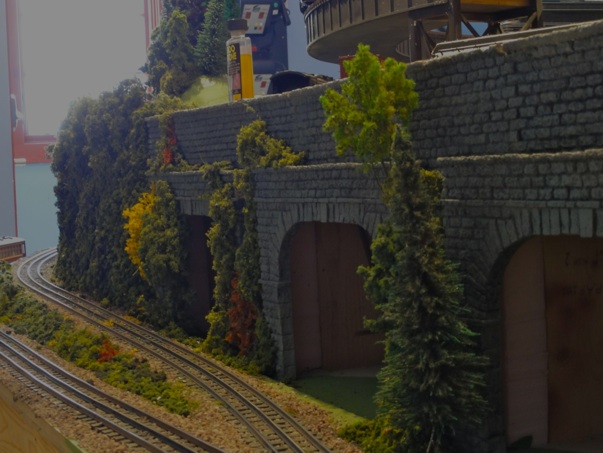
In this scene of the layout you can see I had very tight space to work with and so I went with a brick wall building up to a rock outcrop with the intent of adding heavy foliage to jungle the whole thing up. The portals above are a necessity for getting at stalled or derailed trains as well as cleaning track. They will be made to resemble severed/abandoned tracks at some point in the future I hope.

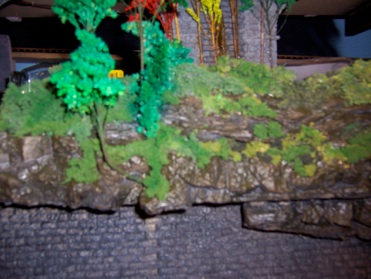
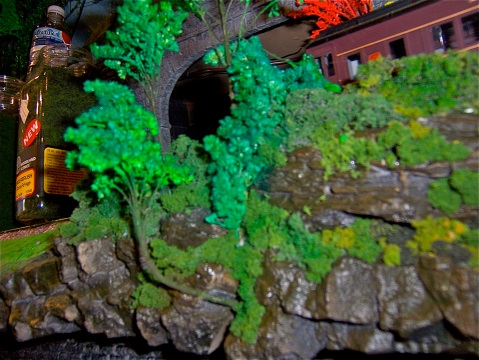
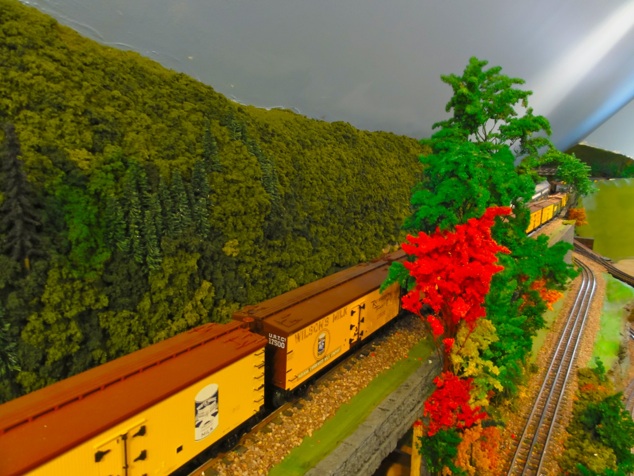
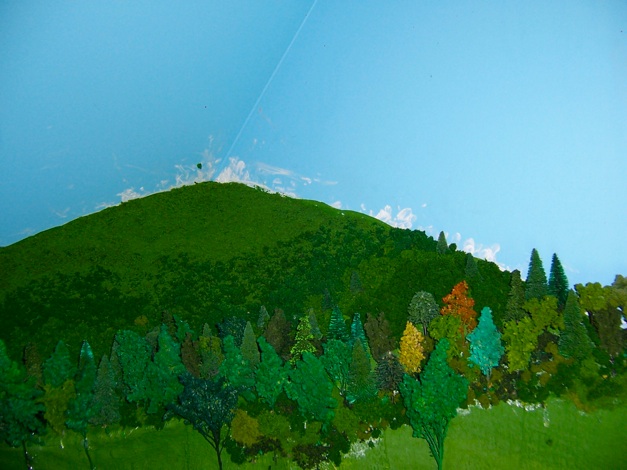
This is the same scene with bits of ground foam applied as well as some of my home made Goldenrod trees. Most of the inspiration for the scenery comes from the Allegheny Mountain region of the Appalacian Mountains of Pennsylvania and West Virginia. The owner did not believe the trees could be such bright colors until he visited the region!


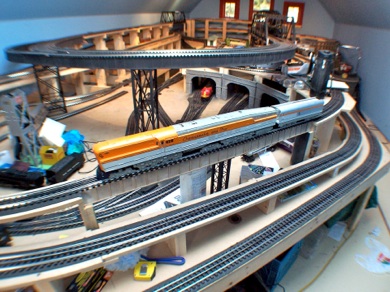
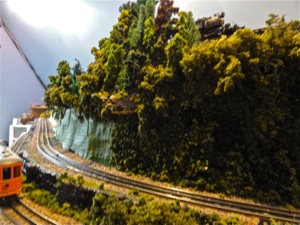
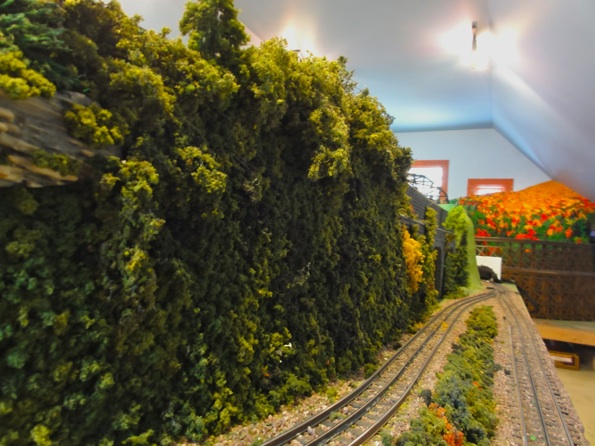
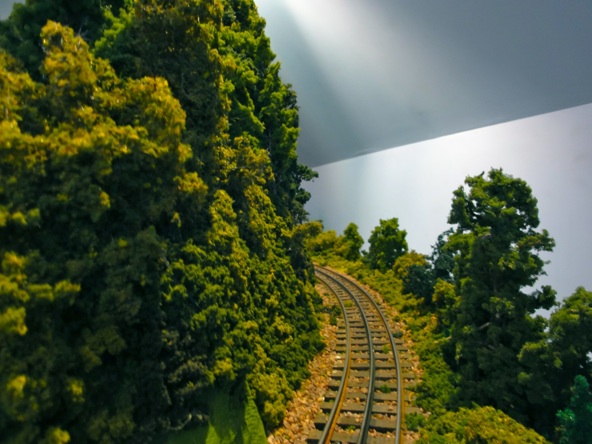
This bit of free perspective occurred due to the change in the wall where it meets the ceiling . It gives a lovely impression that you are looking out across a body of water to where the horizon meets the sky. One of the few effects achieved easily! The next few shots are the other end of this section. Building in O scale means you will have to really try to learn about forced perspective. Very few O scale layouts have enough room to really make it look perfect from every angel and so it becomes a study in compromise. It can be easiest to just pick your scenes and make them look great from a specific vantage point.
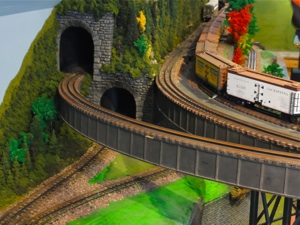
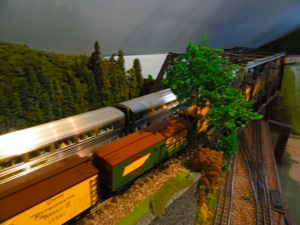


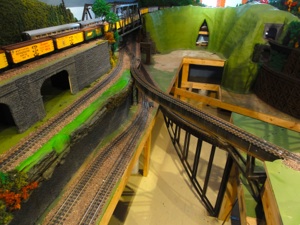

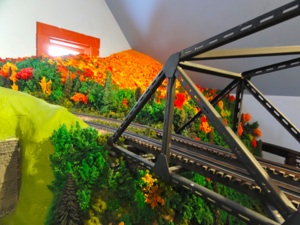

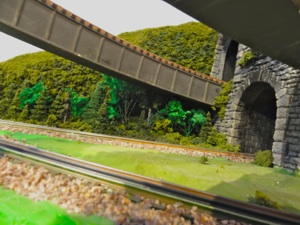
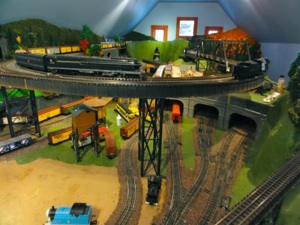


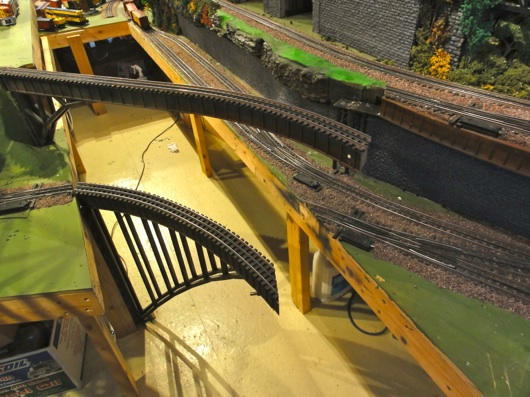
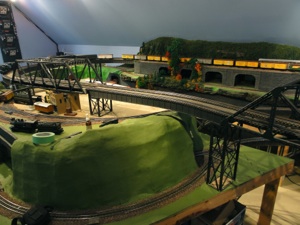
These two bridges are designed to swing out of the way to allow access to the center section and rail yard. I made them both. The top one from MDF and the bottom one is made of gas welded steel.
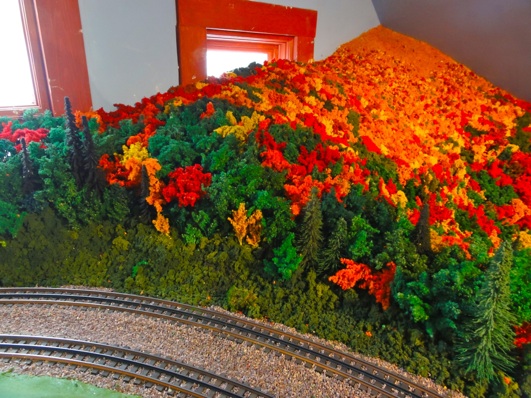
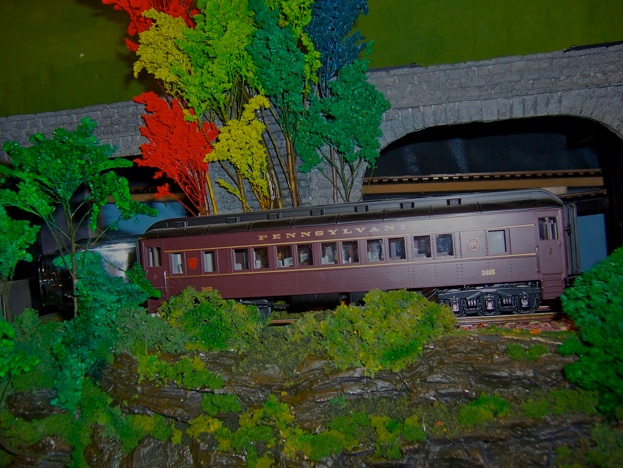
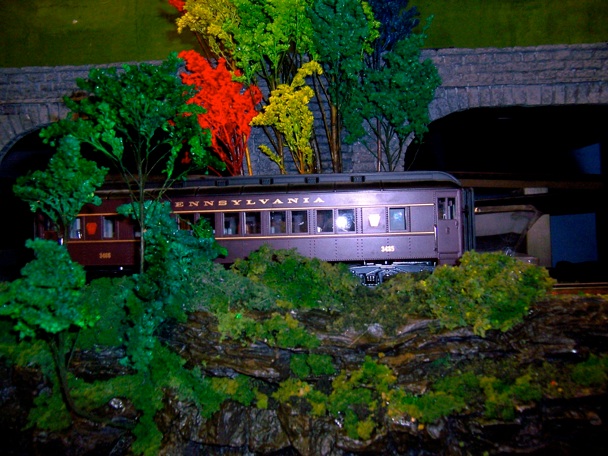
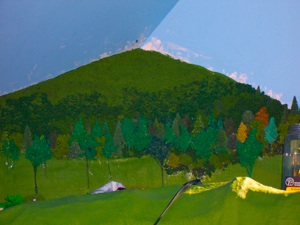
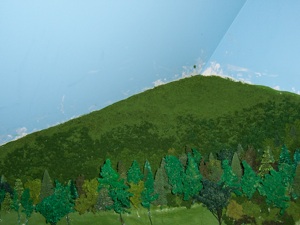
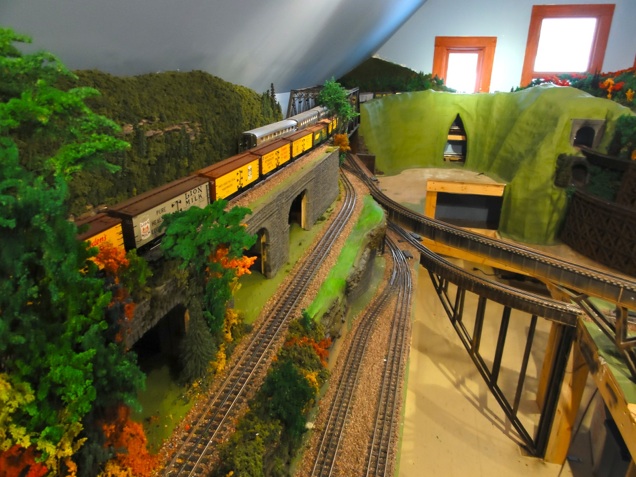
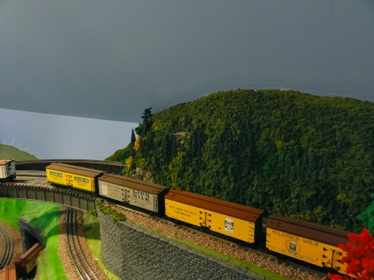
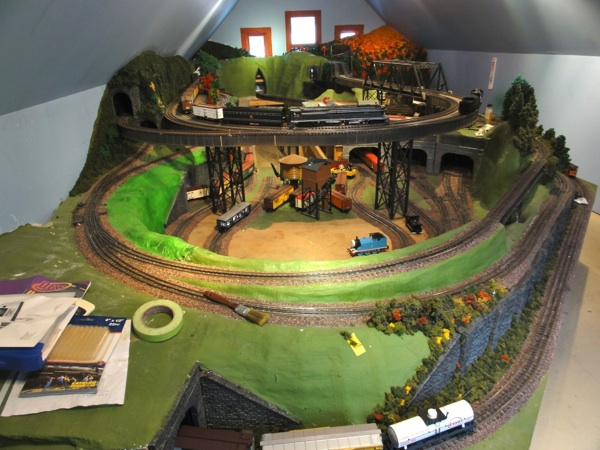
This mountain has a lot of bright falls colors as it is the tallest and the leaves turn color first at the higher elevatio-ns. This is the one where the big trestle bridges are.


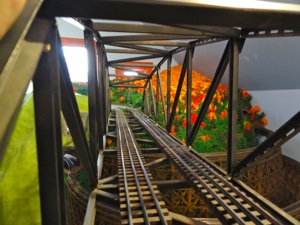


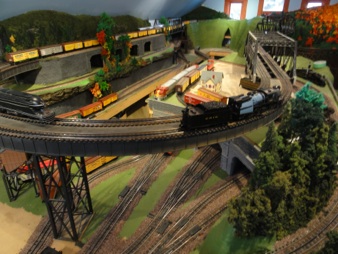
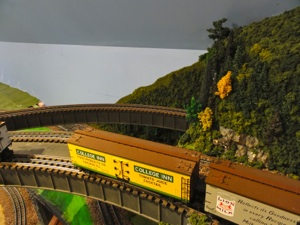
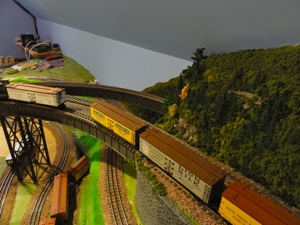
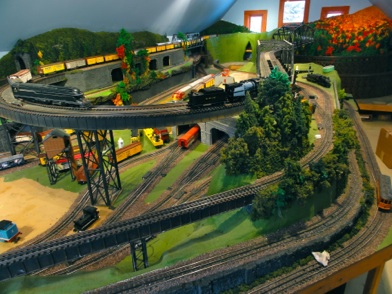
This is the area at the front of the layout overlooking the railyard. There is a large track yard through the portals giving a huge amount of rolling stock storage. The next few pics will focus on the area in the lower right hand side of the picture


And so ends my part in the building of this railroad. It is now to the point where the owner wants to take over and so I offer these last two youtube clips that show it to this point. It has been a wonderful experience with many of the challenges I like to sink my teeth into, but all good things must pass. I hope it has inspired you should you wish to build one of your own!
Paul
Layout Overview Three - Click Here
Layout Overview Four - Click Here